Out of Tolerance Instruments
In any environment, the accuracy of instruments is extremely important. So, what does it mean when an instrument is ‘out of tolerance’? Read on to find out more.
What does ‘out of tolerance’ mean?
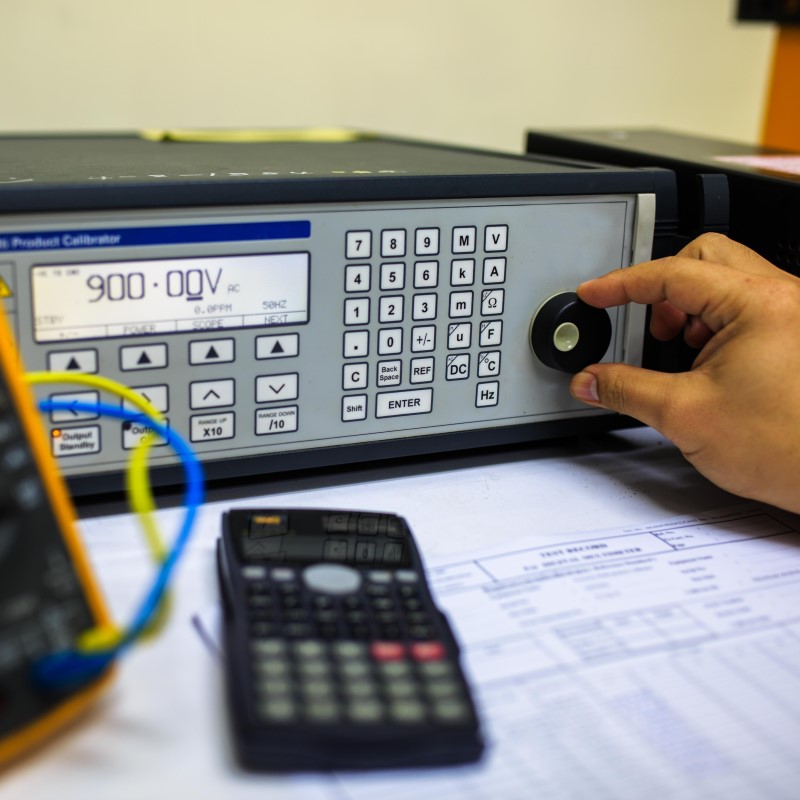
Out of tolerance (OOT) is a common term used when it comes to the calibration of precision instruments. Essentially, it means that during calibration, certain calibration points failed to meet the required tolerance level. This is considered a failed calibration, and further investigation needs to take place. Naturally, you’ll want to start figuring out why a particular instrument has failed calibration, which is also referred to as conformance testing.
All calibrations take place against a tolerance level, which can differ depending on your needs. Let’s take a look at tolerance levels because, in some instances, an instrument can fail calibration because you have set your tolerance levels incorrectly.
What are tolerance levels?
To understand the whole issue more comprehensively, we need to understand what a tolerance level is. In short, the tolerance level is the maximum permitted error. Without confusing the matter too much, the tolerance level of an instrument can be different depending on what it’s used for. The generally accepted standard is to use the manufacturer’s accuracy specification, but that can also vary.
Let’s consider a collection of process instruments that are used throughout a factory. If they’re used to measure the same thing, the tolerance level should be the same. However, if you have different process instruments that measure more or less critical aspects of your operation, it can be worthwhile to adjust your accepted tolerance levels accordingly.
Why did an instrument fail calibration?
If you’ve determined that your tolerance levels were correct, the next step is to determine why the instrument failed calibration. When investigating at what points an instrument failed, you need a full calibration report. For example, was a weighing instrument fine up to the application of a certain weight? Or did the problem start at zero?
When did the problem start?
It can be difficult to find out exactly when an instrument became out of tolerance. This is why it’s crucial to calibrate your instruments regularly so that problems can be identified and rectified quickly with little impact on your operations.
If you do other checks on your equipment in between calibrations, this can help you identify the last point at which your instrument was giving confirmed accurate readings.
Where was the instrument used?
If you use testing equipment for a single application, this one is pretty easy to figure out. If you move testing equipment around and use it at several different points of your operations, you may have a problem identifying where exactly the instrument has been used, and how far the OOT readings may spread.
From this point, you need to clearly identify what part of your operations has been affected and for how long. This will vary obviously because every industry and application is different. But as a couple of examples, you may find that products manufactured in a certain timeframe need to be recalled. Or, in a laboratory setting, you may need to re-do some testing that occurred during a specific period.
The best way to ensure you don’t run into OOT problems is to have your equipment fully tested and calibrated regularly. NWI Group provides a full range of testing and calibration services, so if we can help avoid out of tolerance issues, please contact our team today.


